
I have been printing hand dyed fabrics with linocuts for many years. I create all the designs , draw the designs onto the lino, carve the lino, hand dye the fabric and then hand print each and every panel. It is a time consuming process but does make each print individual and then when you add to that some stitch and another touch of creativity you come up with some wonderful embroidered panels.
On this page I will show the many designs I have available as a printed panel. Once you have selected the panel use the Paypal button ( in each size category) to pay and upon receipt of payment I will email you to confirm payment and to check which motif you would like and which colour you would like.I have not shown all the colours because I hand dye, so the variations are endless. So if the colour you see on the panel on this page is not what you would like don't let that stop you from purchasing a panel you like, as I can dye fabric ( and remember dyeing fabric the way I dye is not an exact science) to be in the colour family you would like.
I tend to use very simple stitches as I am not really an embroiderer. The important thing is to choose the right coloured thread. So a dark panel will comepletely change with stitching in bright and/or light colours and a light coloured panel might be completely transformed with bright thread. I stitch panels both by hand and machine. Many of the stitched panels which I am showing I commenced whilst sitting at craft/textile exhibition events and I used panels which were not sellling very well because the colours were dull or perhaps considered not so easy to work with. At the end of the page you will find instructions on how I stitch, and things to look out for and the type of threads I use, simply scroll down.
Please note there are three different sizes and the paypal button is at the top of each size. Once you have selected and paid your size I will email you.
I will email you to confirm the design you would like and also which colour you would like. This process ensures you will get the colour you would like. It is also important to realise that colours will vary because of the hand dyed process- but that also makes each print unique.
The choice of colour is up to you and it is not possible to show them all on this page. If you scroll through this page you will see the type of colours that are possible- but as I hand dye fabric alot of different colours are possible- the choice is up to you.
Extra Large Linocut Prints are $30.00 AUD inclusive of postage


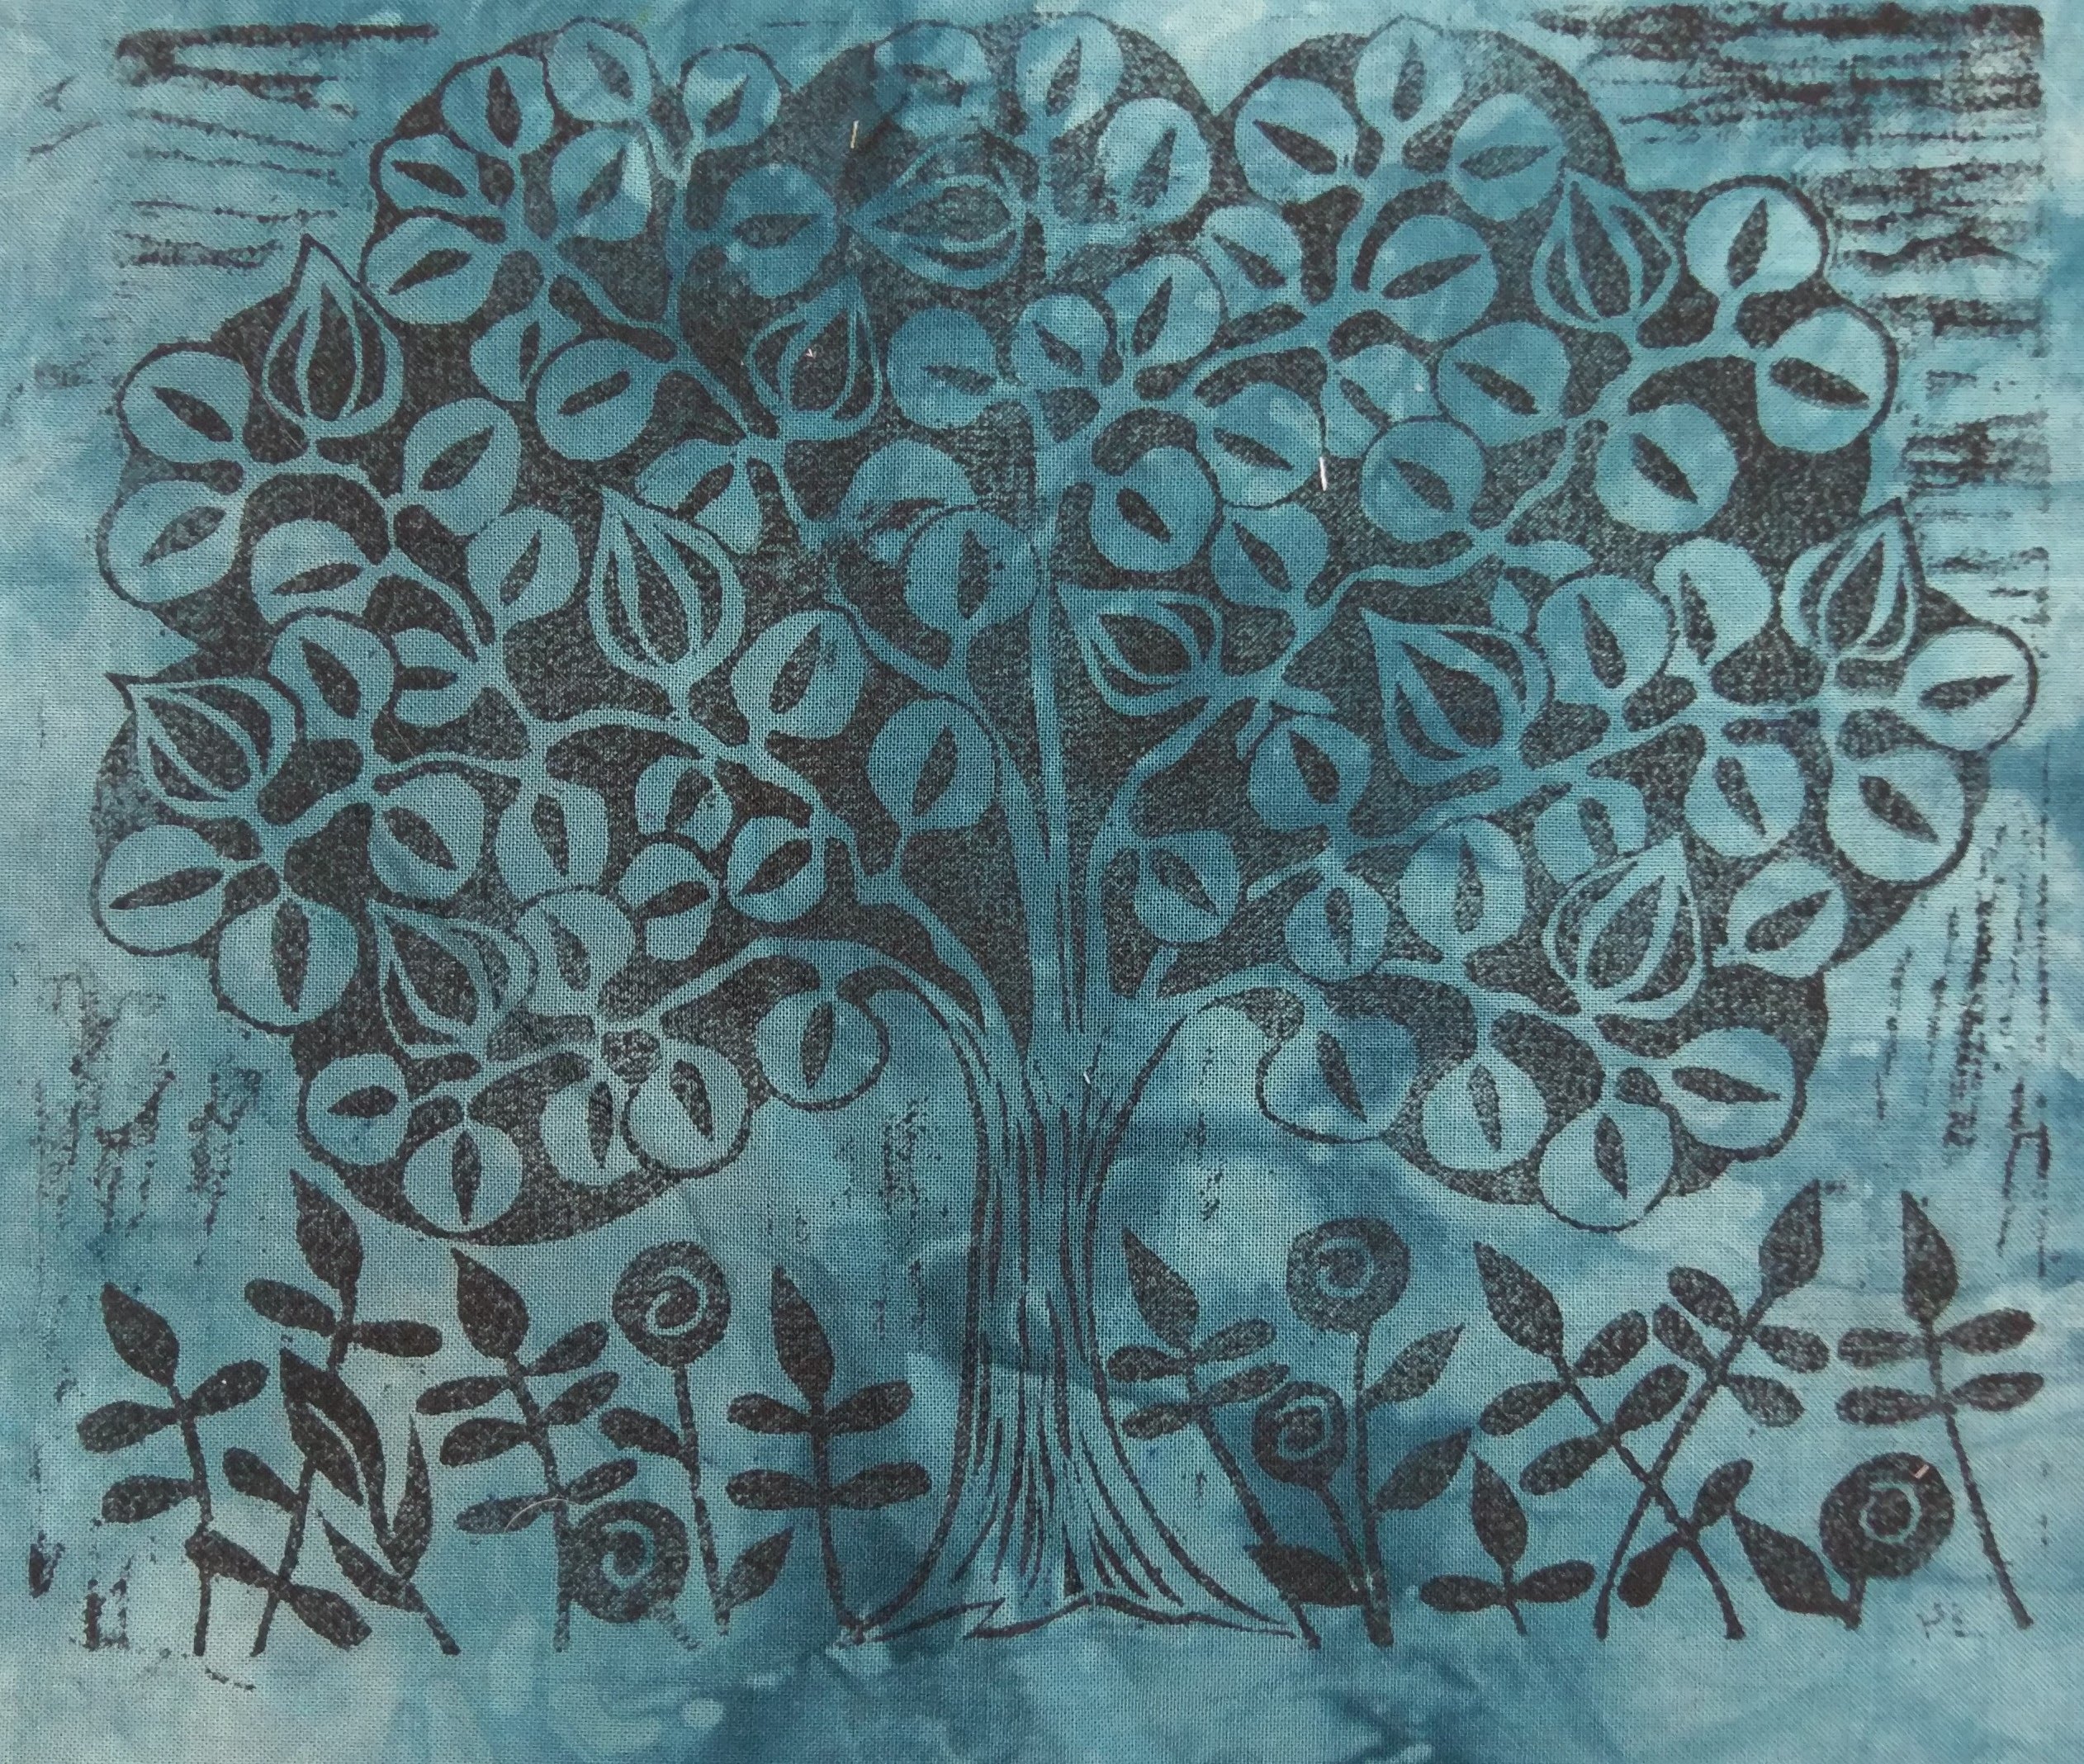
Large tree with Landscape 40 cm x 50 cm
Large Linocut prints: are $23.00 AUD inclusive of postage


What to do with your linocut printed panels.
I have seen people do wonderful things with the linocut printed panels i have made and have been delighted with the creativity shown by people in using them and making them their own. The project that opened my eyes to this was the Sentinelle project back from 2014. Over 130 women used one of my panels and interpreted it in their own way. There were no rules and the resulting exhibition was an ode to the creativity of women and their hands. I have also seen embroidery of these pieces that was to die for and simply beyond my own skill level at stitching. In the exhibitions I included those who are very accomplished and those who were beginners- and often it was difficult to see the difference., because ultimately it was the creative expression and freedom used which created the greatest impact.

So there is no set way to stitch your panel. I often get asked if I give instruction notes when I sell the panels which I don't. However over the years I have realised many beginners do need a little bit of guidance which is why I have decided to share soem ideas on this page.Firstly one of my mottos is keep it simple. I use very simple stitches as I am not really an embroiderer. I also find with the stitches I do use I am able to achieve the results I want. So the stitches I use are as follows:
- running stitch
- chain stitch
- backstitch
- colonial knots
- feather stitch
- using running stitch as a vertical stitch
- seed stitch
- variations on running stitch
The threads I use are usually Perle 8 weight threads. I like the line you can create with this weight of thread. That said I have been known to use other kinds of thread if that was all that was available or if it suited what I needed. In the background quilting/space filling I often use a lighter weight thread and even machine stitchign thread if it is the right colour. These days there are great selections of thread available including hand dyed variegated threads. Amongst the brands I use are Anchor , Wondefil, Aurifil, DMC. You can used stranded embroidery threads if that is what you have though I find I get best results with the perle8 weight threads.
I usually create a sandwich of sorts (it all depends what I have on hand at the time and I often commence these stitched pieces whilst I am travelling or sitting at exibition events so whatever I have with me has to do the job). However I usually have some fabric for the backing a middle layer of wool batting ( I love Victorian Textiles Matilda's Own Wool/Poly Batting ) or a cotton flannel ( which has been washed) and then my linocut print on top which I baste into place. The pieces are not large so I just baste around the edges to keep the layers together. If you add borders to the piuece you may like to use more basting. I baste rather than pin when hand stitchign so the embroidery threads do not get caught in the pins. If machine stitching I would use pins.
I start stitching somewhere near the centre and usually do obvious lines first and usually with backstitch to make them strong. I then move onto adding filler stitches if I think they are needed or details stitches. It is an intuitive process and there is no wrong or right way to do it. Using different stitches gives you textural contrasts.
The most important thing about stitching the panels is the choice of colour of thread with which to stitch. I find contrasts work well and often chossing a more dull colour for the panel allows greater choice of colour of thread to use whether bright or softer coloured. Our first instinct is always to go with your favourite colour but in stitching these panels your favourite colour might be used for stitching rather than in the background fabric. The panels I stitch myself are usually in colours I would not choose myself but I use because they are not selling well- it then becomes a challenge of how to use the thread to make it come alive.
I have also found that over the years I have collected a big collection of threads because you never know what colour thread you might need. It is the same if you decide to stitch by machine. I share a selection of images of completed work and work in progress to show you how I work and to show how I have stitched some of the panels which I sell. Unfortunately I have not had the time to stitch every single panel.
The first image is of a tree and landscape panel which i have not yet had time to stitch but which has been beautifully stitched by Valerie Anglade from Palaisseau in France- a wonderful example of how creative you can be with a panel and she has truly made it her own.

The following image shows the oringinal linocut print panel alongside the stitched panel. The second image is of the folkloric girl stitched by hand and stitched by machine. The background fabric for each one was very similar.


No comments:
Post a Comment